
Users And Roles
Do you want to give each user you share your application with special permissions? That is not a problem for Tabidoo, you just have to follow these steps:
If you haven't made any App or Table yet, see the instructions.
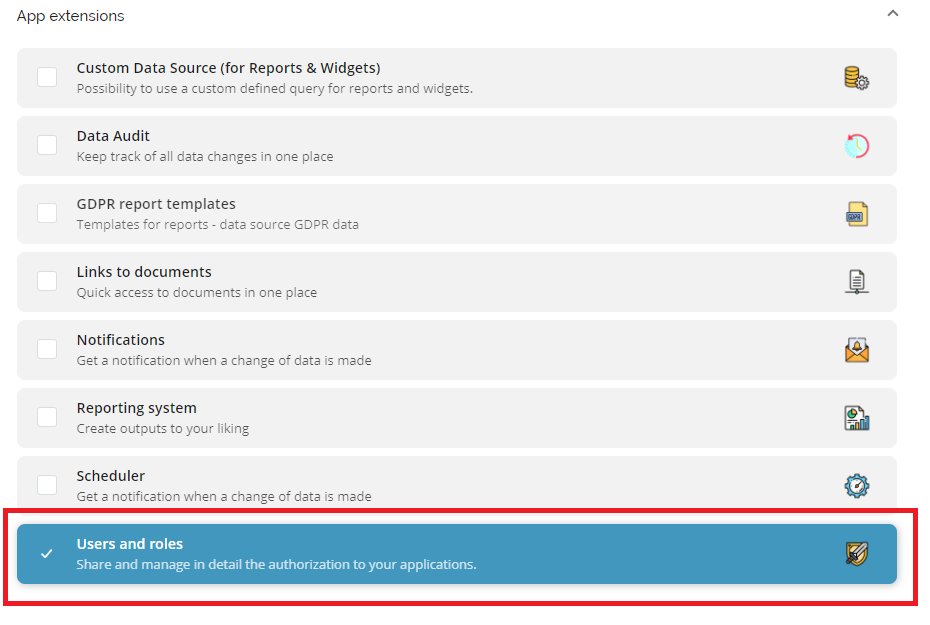
First of all, you have to add the extension Users and Roles into your application. You can achieve it in two ways:
- Download extension Users and Roles from Templates.
- Use the Add new table button (in the bottom left corner), click on "Add Tabidoo extension" and select the extension - Users and roles.
The new table Role will appear in the left column. If you want to make any changes to it, just click on Edit.
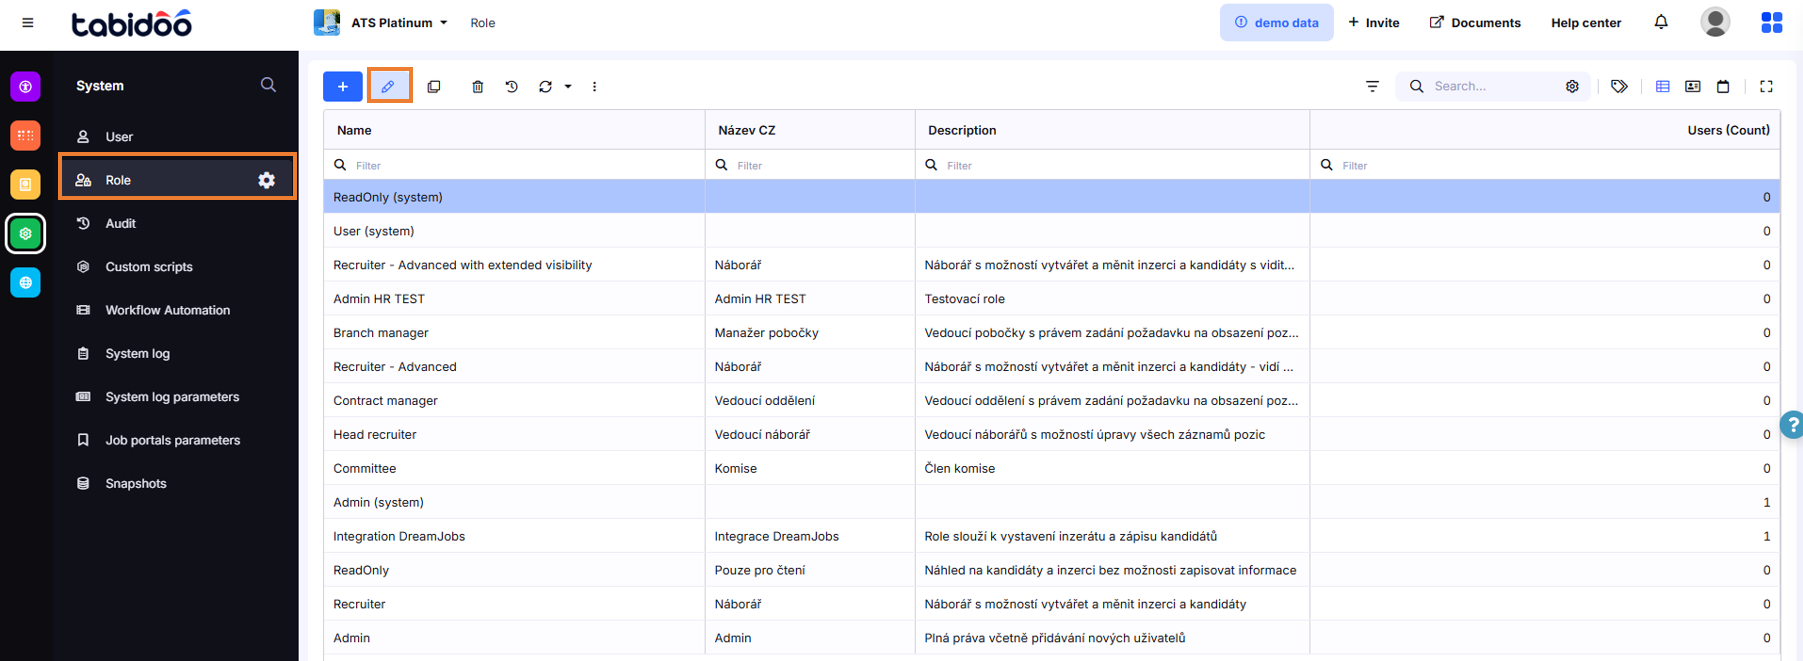
How to edit Roles in Tabidoo
Set User Roles
In the basic version, there are the following preset roles:
- User – a user can't change the table definition but can change the data. The user can't share the application with anyone.
- ReadOnly – the user can't change the table definition but can read the data. The user can't share the application with anyone.
- Admin – the user can manage tables and data and share the application with anyone.
You can, of course, change these roles and their permissions as you wish.
Permissions within the Application
Within the whole application, you can set whether the user will be able to:
- Can Change tables: Change the table definition (edit table fields).
- Can Manage sharing: Share the application with another user or change user permissions.
- Hide unassigned: Hide tables that have no permissions set at the table permission level.
- Access: If the user can make changes to the data or can only read the data.
- Hide denied fields: Hide fields from the user if you deny access to certain fields.
- Access to audit: View the audit log (history of changes) in the table.
- Hide inaccessible items: Hide records that the user does not have permission to access.
- Use AI credit: Allow the user to use AI features that consume credits.
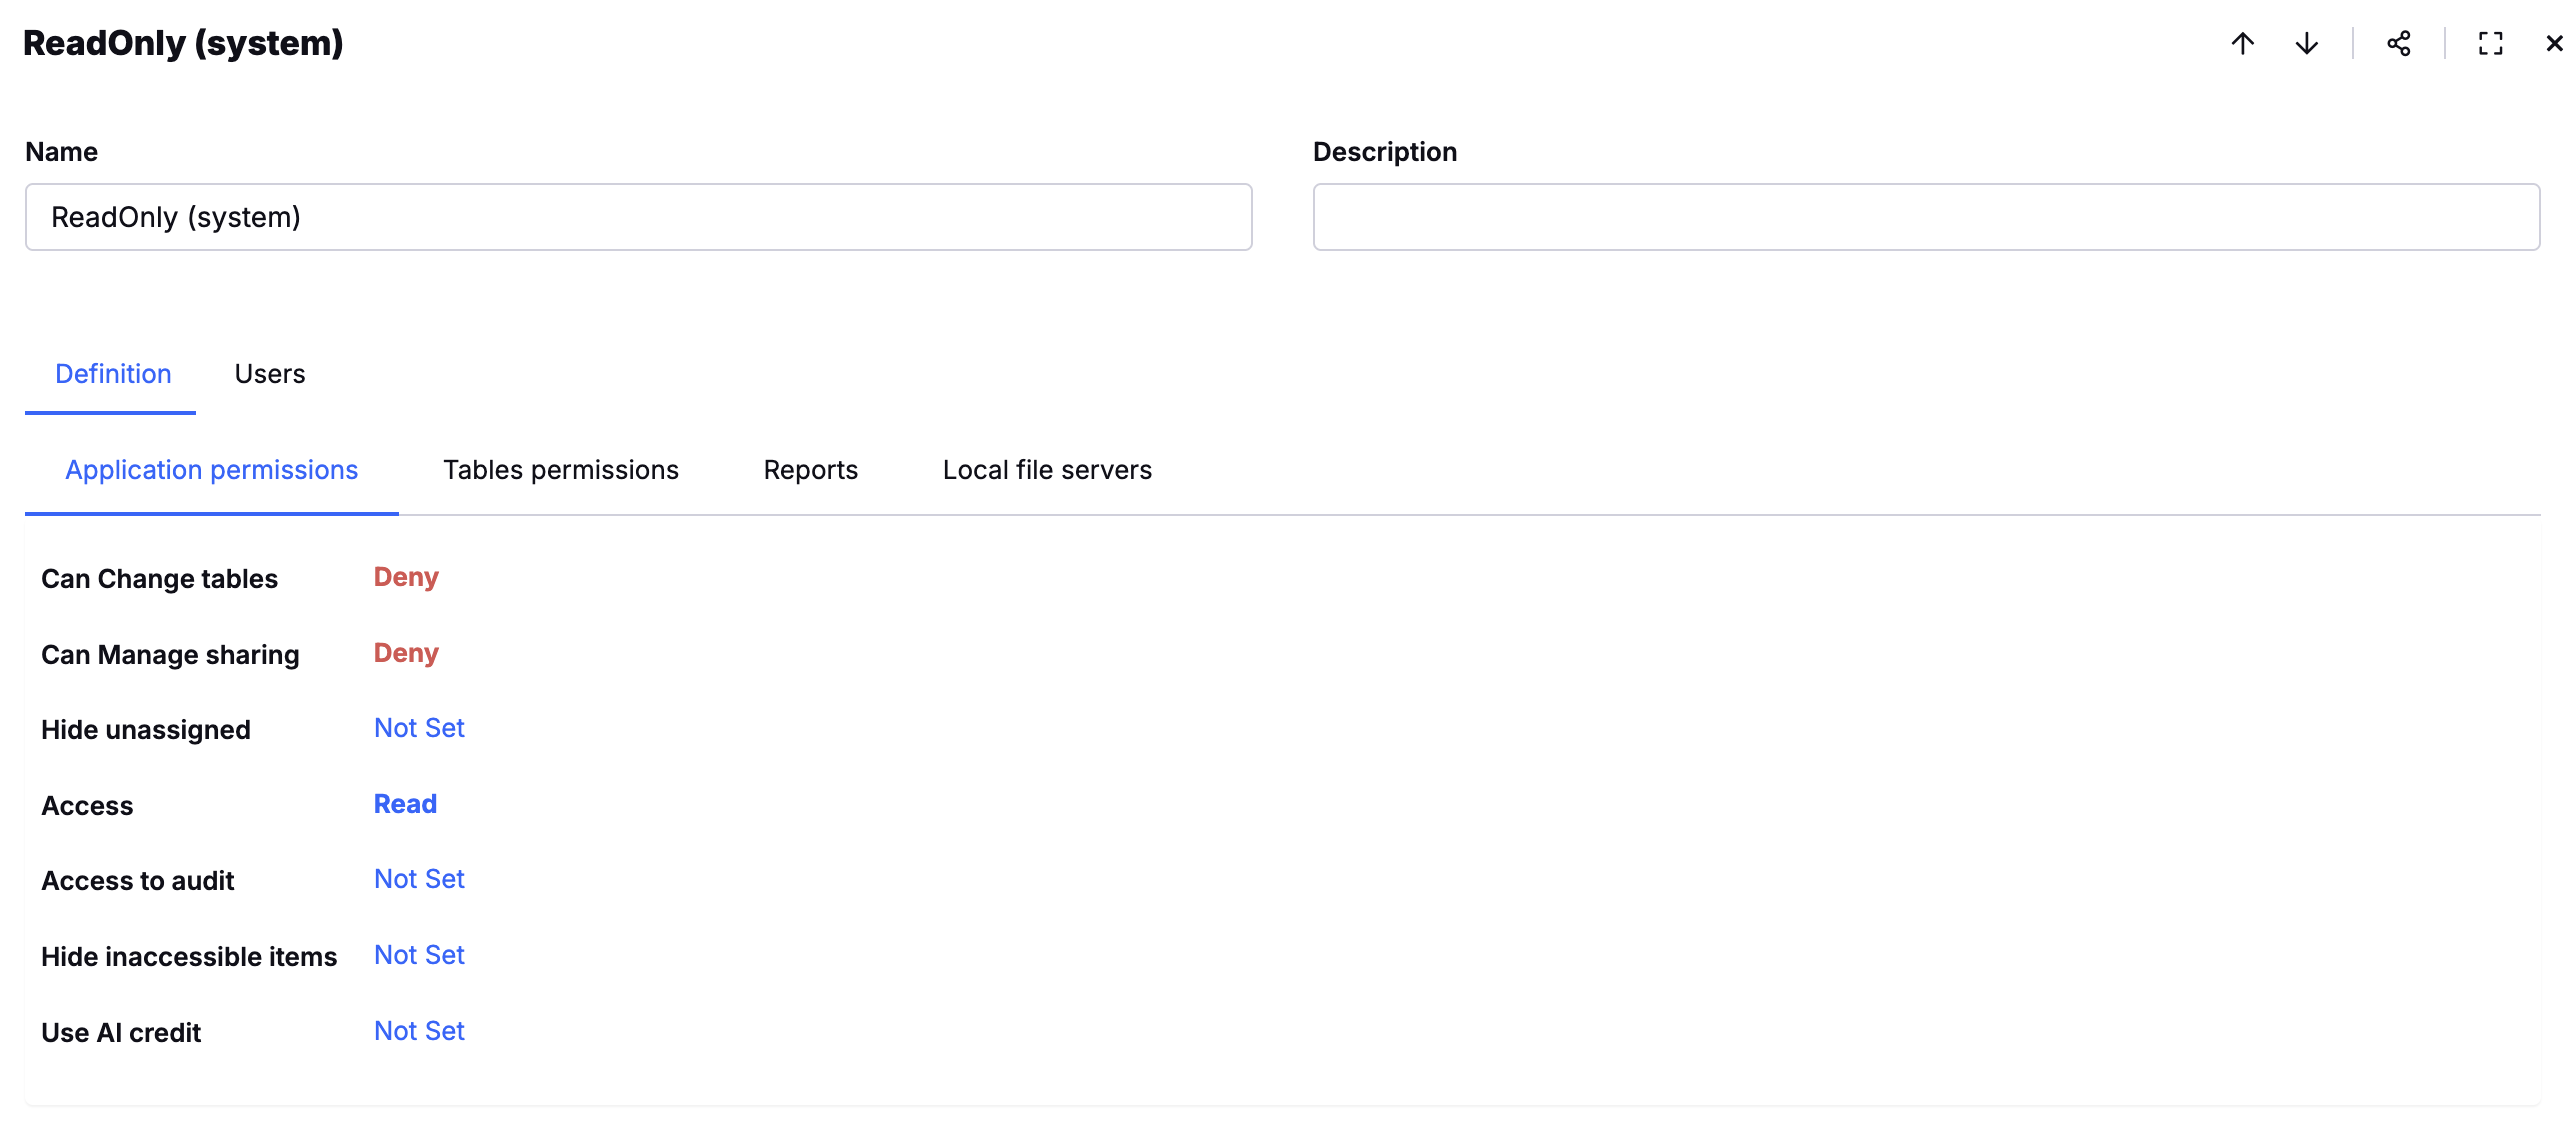
An example of the set permissions
Permissions within tables
You are free to set even more detailed permissions to each table:
- Access - whether the user can write or only read data in the table, or whether access will be denied.
- Show - whether the table will be displayed to the user.
- Add - if the user can add a new record within the table (if the Add button appears in the table).
- Edit - if the user can edit individual fields in the table (if the Edit button appears in the table).
- Delete - if the user can delete a record in the table (if the Delete button appears in the table).
- GDPR - if the user can see which data is sensitive and can anonymize or delete it (if the GDPR button appears in the table).
- Import - if the user can import data into the table (if the Import option appears in the table).
- Export - if the user can export data from the table (if the Export option appears in the table).
- Access to audit - if the user can view the audit log (history of changes) in the table (if the Audit option appears in the table).
Examples of Settings
- User can export but cannot add/edit records
Application - Access: Not set
Table - Add: Not set
Import/Export: Allowed
👉 The user can export data but does not have permissions to add or edit records.
- User can add records but cannot import/export
Application - Access: Not set
Table - Add: Allowed
Import/Export: Not set
👉 The user is allowed to add new records but cannot import or export data.
- User can export, import, and make bulk changes
Option 1:
Application - Access: Not set
Table - Access: Allowed
Table - Add: Allowed
Import/Export: Not set
Option 2:
Application - Access: Not set
Table - Access: Allowed
Table - Add: Not set
Import/Export: Not set
👉 The user has permissions to export, import, and perform bulk changes in the tables.
- User Cannot Export, Import, or Make Bulk Changes
Application - Access: Not set
Table - Access: Write
Table - Add/Edit: Allowed
Import/Export: Deny
👉 Export, import, and bulk changes are denied for the user.
📌 Note: Bulk change permission is tied to Import permissions!
Roles and Audit Access
Roles can allow or deny access to audit features, depending on the permissions set at the application or table level.
You can also set more detailed permissions within each field of the table and specify whether the user is allowed to write, read, or deny access to the field.
If I have a link to a table where Import/Export is set to Deny, this restriction will also apply to the settings of the second table.
Best Practices & Notes
- Start with default roles: Begin by using the preset roles (User, ReadOnly, Admin). Once you understand how they work, create custom roles tailored to your processes.
- Least privilege principle: Always assign users the minimal permissions they need to perform their work. This increases security and reduces the chance of accidental data changes.
- Separate admin accounts: Keep at least one dedicated Admin user account in case roles or permissions are misconfigured.
- Test roles with a demo account: Before rolling out new permissions to all users, test them with a demo/test account to verify they behave as expected.
- Audit sensitive access: If working with sensitive or GDPR-related data, double-check role permissions for audit and anonymization features.
- Field-level permissions: Use field-level restrictions for sensitive data (e.g., hiding salary or personal info columns), not only table-level access.
- Targeted communication: You can link notifications or emails directly to specific roles, so that only the relevant group of users receives the information.
Note: If a role contains a fixed filter on a Link to table field and the linked record is later deleted, the entire role definition needs to be saved again. Otherwise, the fixed filter disappears and may look like an invisible/hidden filter.