
Create Table
A table consists of columns and records which can contain text, a number, a check box, a calendar, or another type of data. You can create it in Tabidoo or import it from Excel.

The appearance of a table in Tabidoo
How to create a new table
Click on the icon of the application in which you want to create the table. On the home screen, you will see the following options for adding a new table:
- Custom table – define your own fields manually.
- From Excel – import data structure and values.
- From Template – use a pre-made setup for common use cases.
Each table must have a name and icon. You can also select the module it belongs to (if using modular structure).
Select the option you want to use and click on the button next to that option.
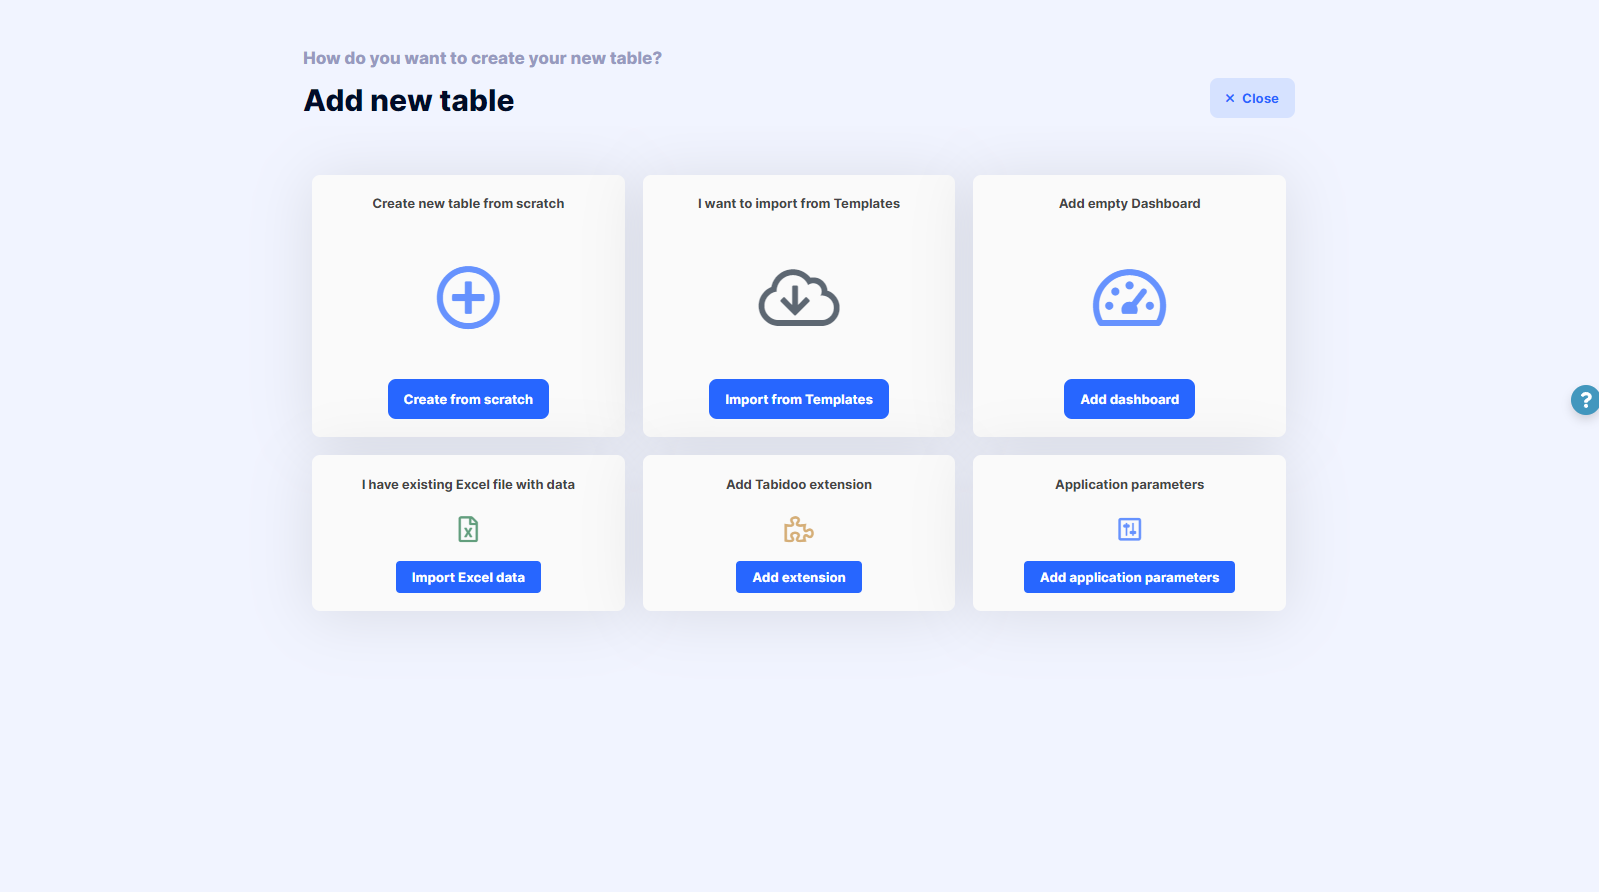
Options of adding a new table in Tabidoo
Create your own table
Name the table, using up to 100 characters, and select its icon. In the beginning, it is always a good idea to set up your own system for labeling tables.
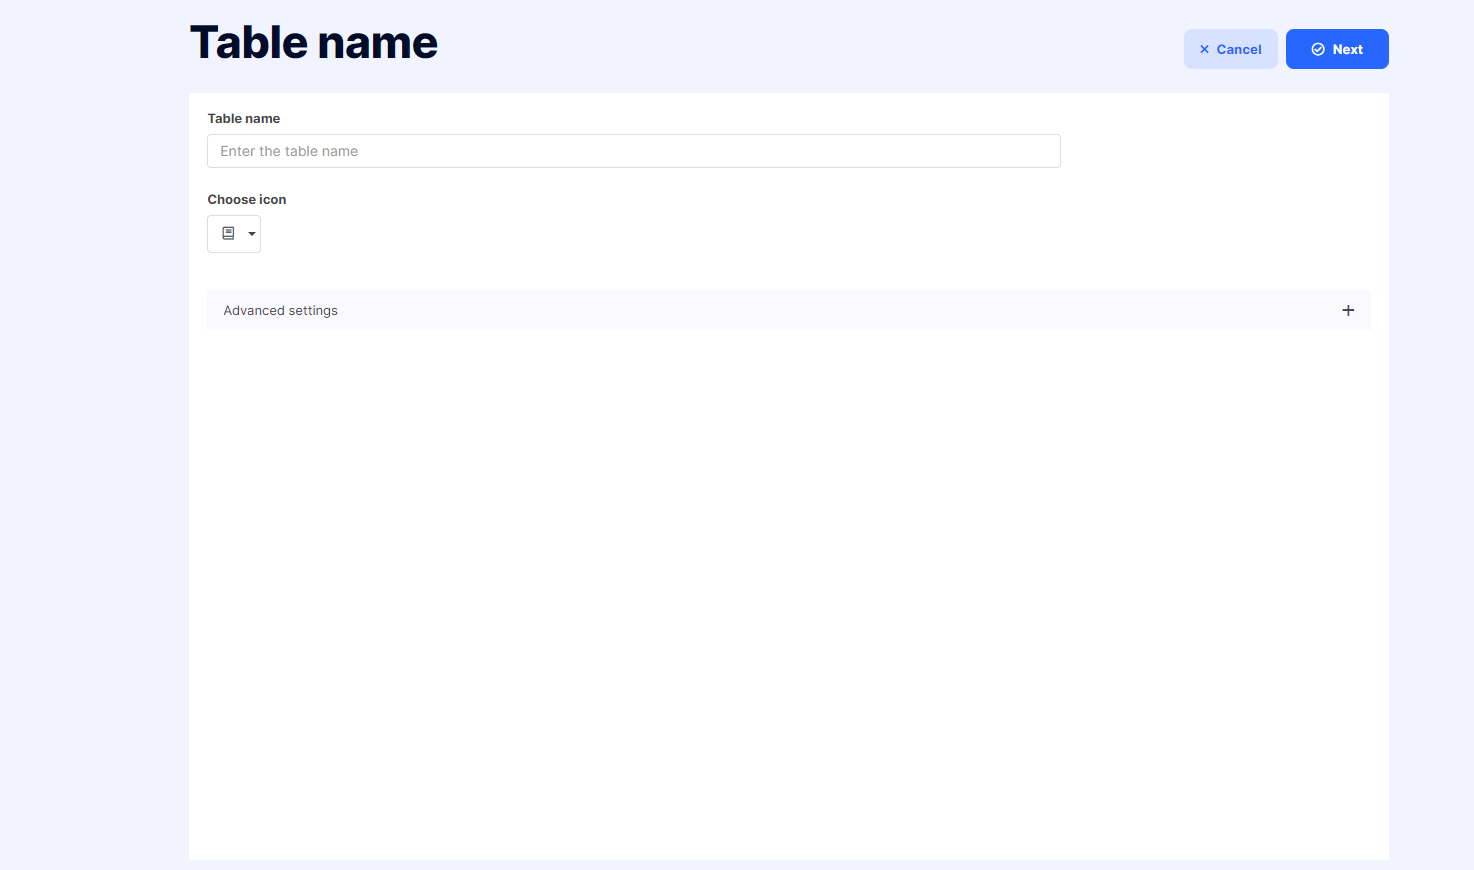
Creating your own table in Tabidoo
In the advanced settings, you can choose the display, the GDPR settings, or the description of the table. Save the settings and continue.
Select the field type
In this step, you choose whether you want to have text, a number, a check box, or another data format in your table. We go through them in more detail in the chapter Types of Data Entries.
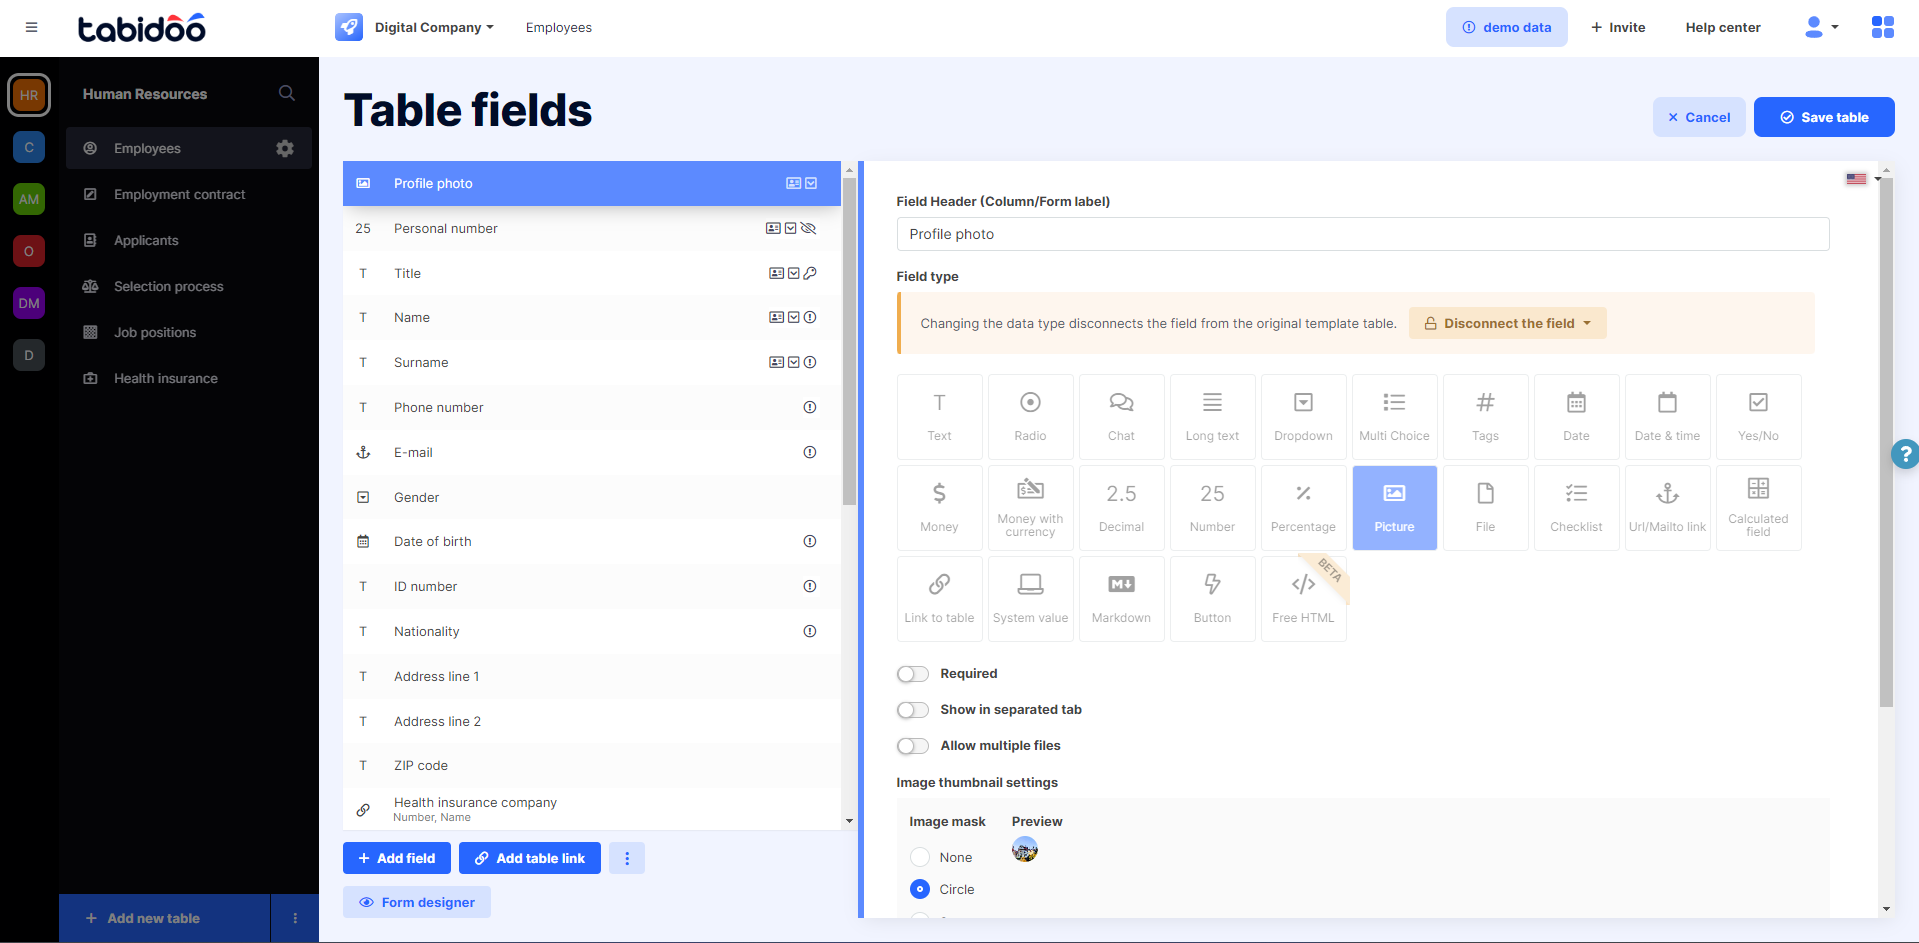
Types of data entries in Tabidoo
Each of the columns/types of data entries must be named.
Under the icons of data entry types, you will find the Required field option. Use it, if you want this field to always be filled in.
Add other fields to the table
Once you save the data creation, the environment of the newly created table will appear in front of you. If you wish to edit it further, click on the gear icon in the left column. The menu of the table will then appear.
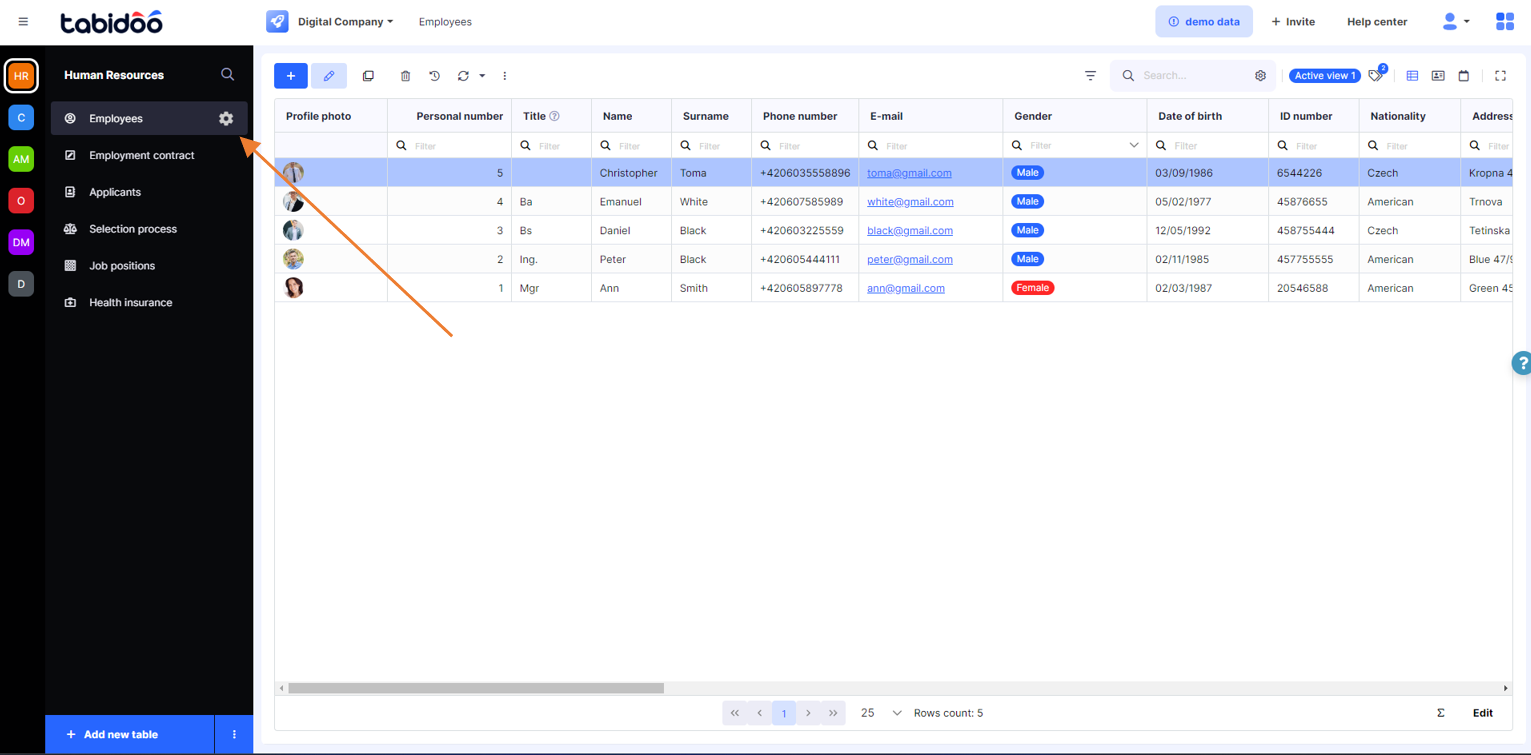
How to edit table settings in Tabidoo
Select the item Table Settings.
Table Settings Overview
Each table in Tabidoo includes a comprehensive settings panel that allows you to customize its name, appearance, behavior, and developer-level features.
Basic Settings
In the top section of the settings panel, you can:
- Change the name of the table – used for display in the UI and menu.
- Set an icon – helps visually identify the table in the left-hand panel.
These two settings are key for organizing tables clearly, especially in multi-module applications.
Advanced Settings
This section allows you to define the table's behavior and available features:
Views Selection
Configure which views are available and choose a default one:
- Grid view – spreadsheet-style interface.
- View as cards – card layout useful for pipelines or grouped data.
- View as calendar – calendar view for date-based records.
⭐ Click the star to mark the default view.
Table Settings
- Line wrapping – toggles whether long text wraps inside cells.
- Allow direct (inline) edit – enables editing directly in the grid without opening record details.
GDPR Settings
- GDPR root table – marks the table as the primary data subject table for GDPR operations.
Menu Settings
Link to:
Action Button Settings
Audit (History) Settings
- Enable/disable automatic change logging.
- Option to manually clear audit history.
Link to:
Data audit limitation
Developer Level
This final section allows you to view or change the internal name of the table, used for:
- Scripting
- API requests
- System automation
Important: The Developer section is only visible if the user has enabled Developer settings in their user profile under User profile > User level.
This internal name is system-safe and does not affect how the table is shown in the user interface.
Select another data type you want to add. It is then automatically assigned to the existing data. You can specify the order yourself.
Entering data into a table
If you wish to enter or edit data in a table, use the Add - Edit buttons - Delete icon, which can be found under the name of the table.
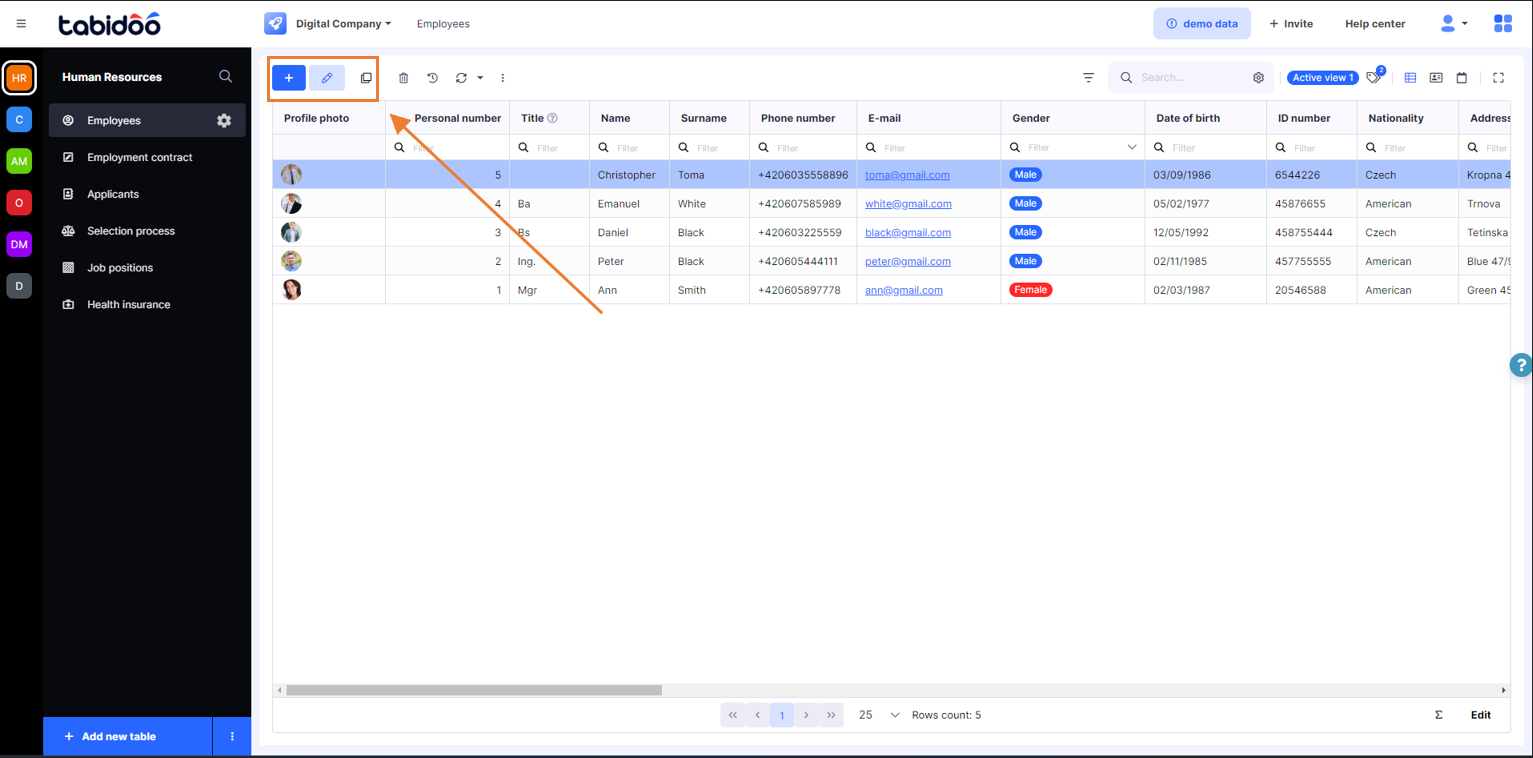
Add, edit, or delete data in a Tabidoo table
- Use the Add button to add new data to the prepared tables.
- Use the Edit button to edit the existing data.
- Use the Delete icon to delete the selected data.
- Other icons will help you duplicate, Multi duplicate , delete records, Changes overview, Refresh browser, Upload data from the server, import data, export data, view editing history or GDPR
Read more in:
Create and manage records
Customize table buttons - Action Buttons Settings
The Action Buttons Settings in Tabidoo allow users to customize which buttons are visible or hidden above the table. This feature gives users control over the visibility of action buttons and allows them to customize the interface to their specific needs and preferences. In addition, users can adjust the visibility of buttons based on specific roles. The button settings can be configured for both the main table and sub-tables.
Users can access this settings menu by clicking on settings icon that appears when hovering over the buttons menu.
Configure this in:
Action Button Settings
Did you know that in Tabidoo you can select more records and delete them? Simply hold Ctrl and select the records. Afterwards, use the Delete .
View sharing and other functions
Next to the search box, there are icons that will help you easily and quickly manage the table view.
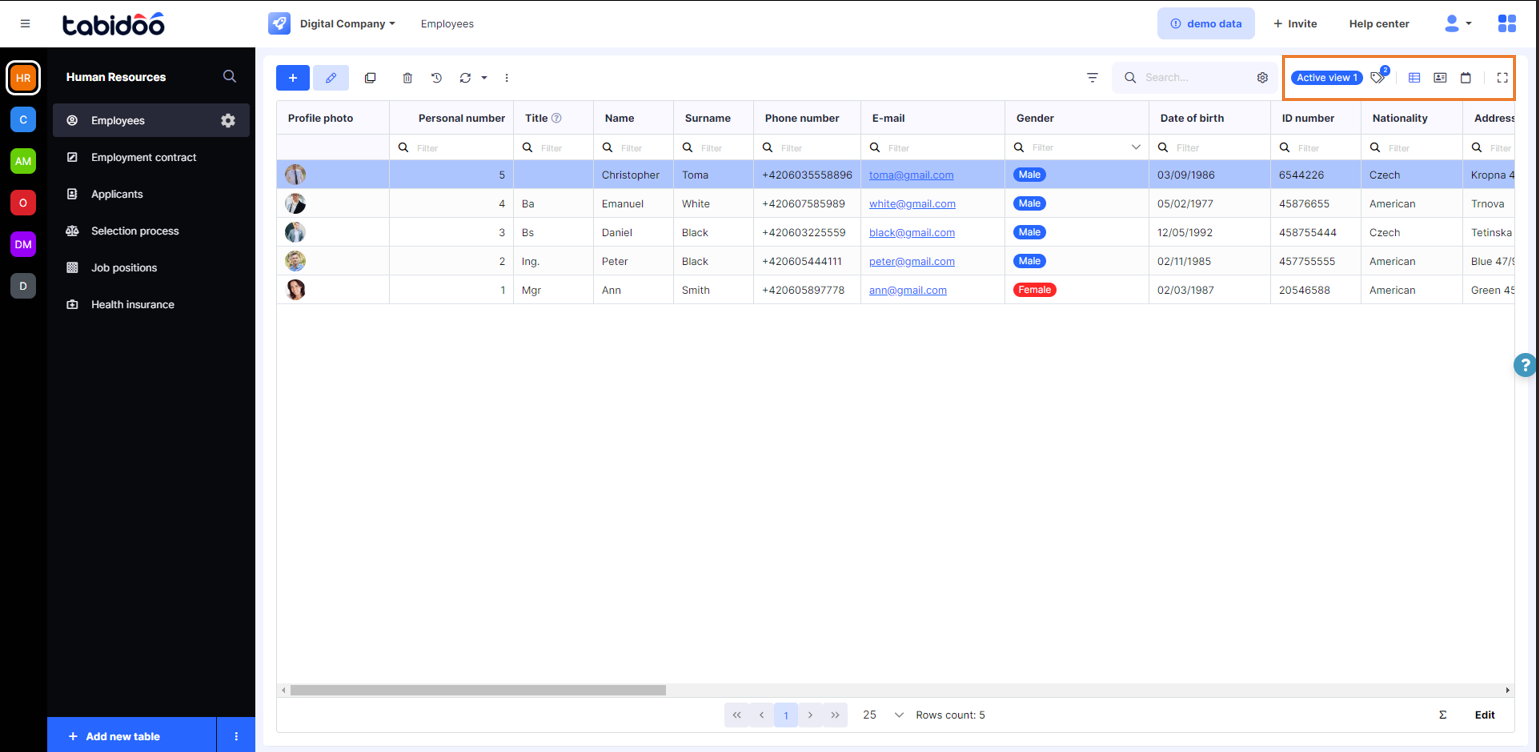
How to manage Table view in Tabidoo
Working with Views
- Each user can customize how the data is displayed using views:
- Change visible columns, sorting, filters.
- Use full screen mode, quick filters, etc.
- Save your preferred layout for later reuse.
Learn more in:
🔗 Save active view
🔗 Data Views overview
How to find data in a table? Use the search box in the upper-right corner or press CTRL + F.
Summary
Creating a table in Tabidoo is quick and flexible. Whether you're building it from scratch or importing from Excel, you have full control over fields, views, actions and data.
Want to organize your tables into Modules? Read about Modules