
Conditional formatting
Do you want to highlight important records or fields in your tables? Conditional Formatting is the perfect tool — similar to what you might already know from Excel, but tailored for your Tabidoo data.
Where can I find the Conditional formatting settings?
To set up Conditional Formatting:
- Click the cogwheel (⚙️) next to your table name.
- Select the fourth option – Conditional Formatting.
This will open a configuration panel where you can add and manage conditions.

Afterward, click on the "+ Add condition button" and enter the conditional formatting settings:
In the settings you can set the following:
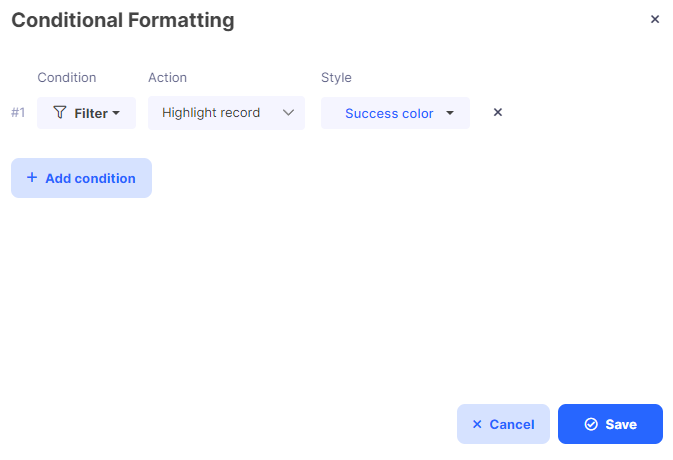
Filter
Define the condition under which formatting should apply. Filtering works the same way as in the standard table view (grid filter).
Learn more about filtering here
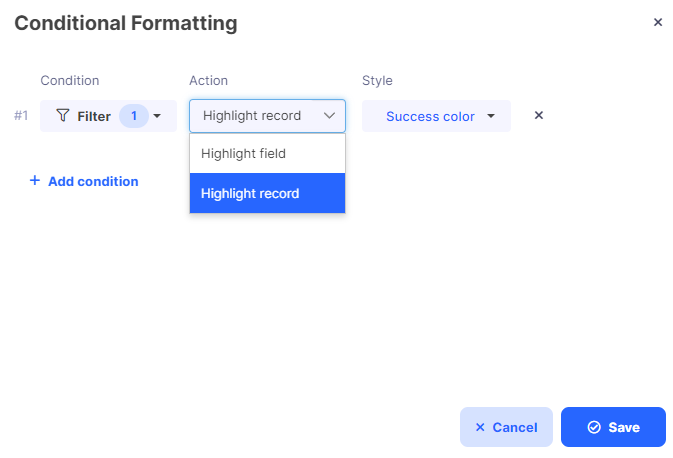
Action
Choose whether to:
- Highlight the entire record (row)
- Highlight a specific field (column)
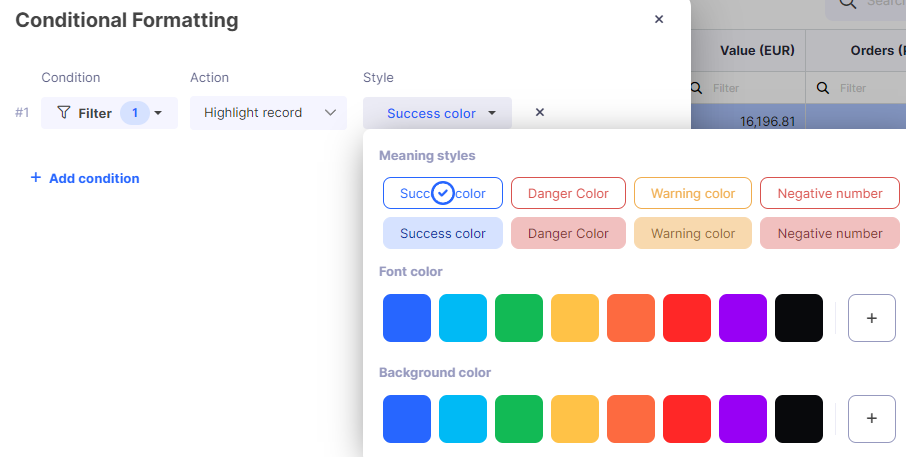
Style
Pick your formatting style:
- Background color
- Font color
You can use pre-defined colors or insert a custom HEX code (e.g. #FF9900) via the “+” button in the color selector.
Add as many conditions as you link to your tables and do not forget to save!
Examples of Use (Use Cases)
Here are some real-world scenarios where conditional formatting can help:
- Highlight overdue tasks (
Status = "Overdue"→ red background) - Emphasize completed projects (
Status = "Done"→ green font) - Shade rows where a deadline is within 3 days (
Deadline < Today + 3 days) - Mark invoices with amounts over 100,000 Kč as important
Tips
- You can combine multiple conditions to create layered rules.
- Always click “Save” after making changes.
- Be consistent in your color usage for better user understanding.