
Reporting
Reporting in Tabidoo allows you to generate structured outputs (such as invoices, summaries, or exports) based on your application data. Reports can be reused, automated, and extended using scripts, so once configured, they require minimal effort to maintain.
Our tip: Reporting is ideal for generating documents like invoices from orders. You only need to set the parameters once and then reuse the report for all relevant tables.
How to download the Reporting extension
For reporting, you will need to get a Reporting system extension from Tabidoo extensions.
- In the application, click on the button in the bottom-left corner called + Add new table and select Add Tabidoo extension.
- From the Tabidoo extensions select the Reporting system and click on Save.
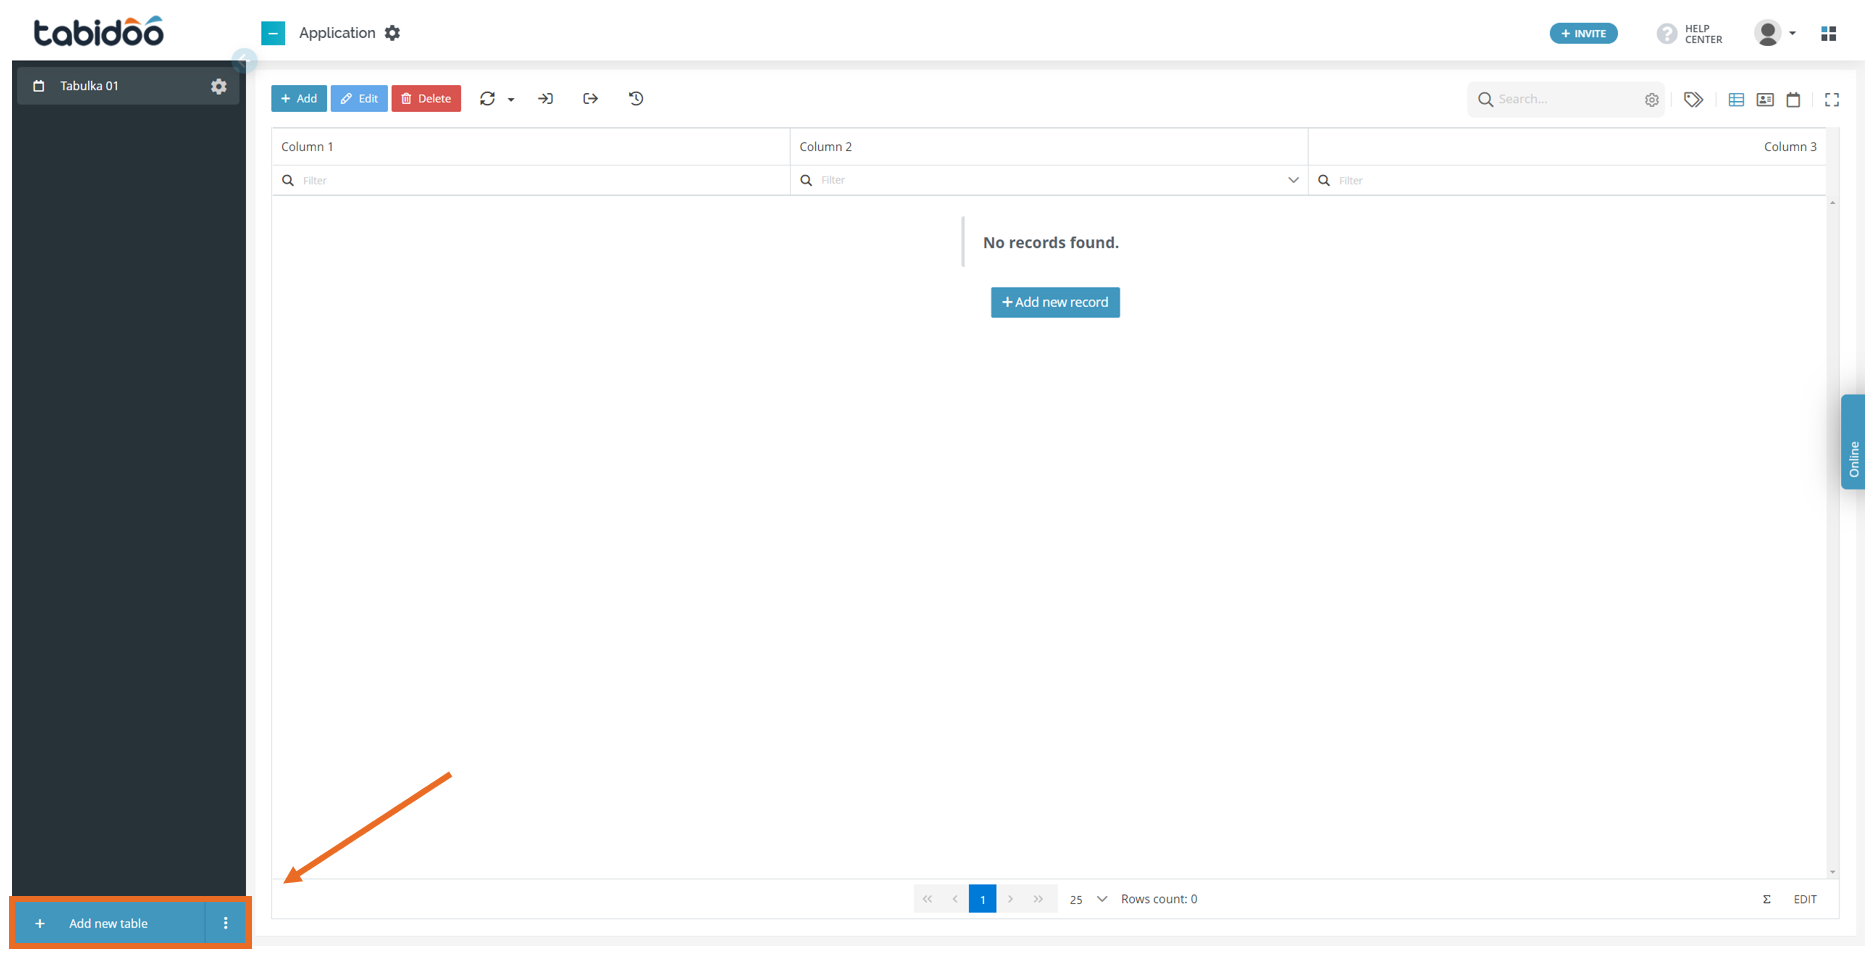
- The table Reports has now been added to the left column of your application.
How to set up reporting
- In the Report's table click on the + Add new record button.
Basic tab
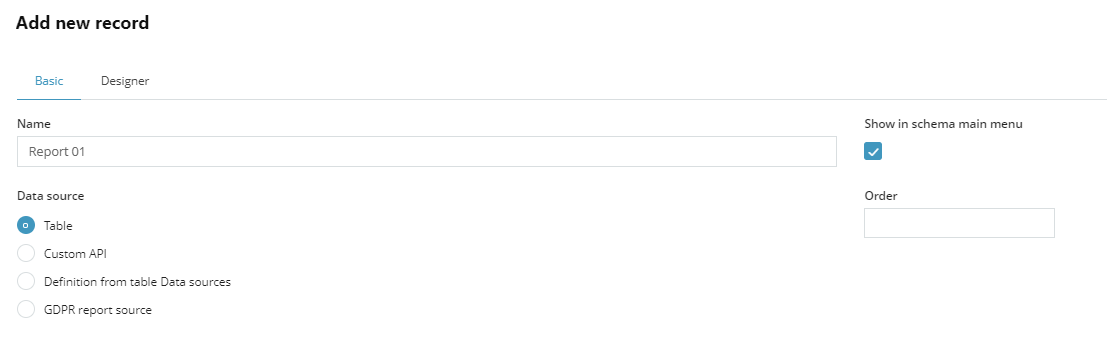
In the section "Basic":
- Enter the name of the Report
- Select a data source. That can be:
- a table,
- any web API, fill in the URL in the Path field,
- a combination of data from different tables - use the Custom Data Source extension which you can find in Templates.
- GDPR report source
- Select if the report will appear in the main menu of a table by clicking on "Show in schema main menu".
- In case you have more reports, enter the order in which this report will appear in the table "Reports".
- Set the user rights and filters.
Designer tab
In the section "Designer":
In this section, you can prepare your reports. You can find detailed help to it on the website of the publisher of the Stimulsoft software we use.
Want to create an invoice in Tabidoo? Click HERE and follow the easy steps.
Using custom fonts (video)
If you need to use a font that is not available in the default font list, watch the instructional video below.
▶ Using custom fonts in reports
After load (advanced)
In the "After load" tab, there is a place for user script, which is called after load/before rendering the report.
It enables to change or adjust the data which are sent to report.
You are able to change values, reformat them, add columns or tables or even completely change the data source.
In case you do not see the option, you may have an older version of the Reporting extension. Please, choose Add new table. Choose the option Import from templates. Import the Reporting system again into the application. The current Reporting system will be updated.
The data can be found in doo.report.current.data. Apart from using the data, you can also use or set the report name using property doo.report.current.name.
Scripting intellisense for doo.report.current works after the data is loaded (e. g. you go to Designer first). When using this property, the table(s) or data source(s) used for the report will be suggested. Please, be mindful, that the data to the report are loaded as an array, so before specifying a property, you have to select from which row are the properties going to be used.
Our tip: The script runs on the server side. Using a console.log will not help here. In case, you need to receive debug messages, add them to the data source.
Example: setting the report name
You can see below an example how to set your report name. Either you can set a fixed name, or you can use a dynamic name based on some value in your report. If the name of your table is not one word, you may have to use bracket notation.
doo.report.current.name = doo.report.current.data.Invoice[0]?.InvoiceNumber;
doo.report.current.name = doo.report.current.data["Incoming invoices"][0]?.InvoiceNumber
doo.report.current.name = 'Incoming invoice.pdf';
⚠️ When using square brackets
[]to reference tables indoo.report.current.data, avoid diacritics and special characters in table names.
How to print or save a report
If you create reports according to the previous steps, you can then easily view, print, or save them.
- In the selected table, in the top row, you will find the Add, Edit, Delete or Print icons.
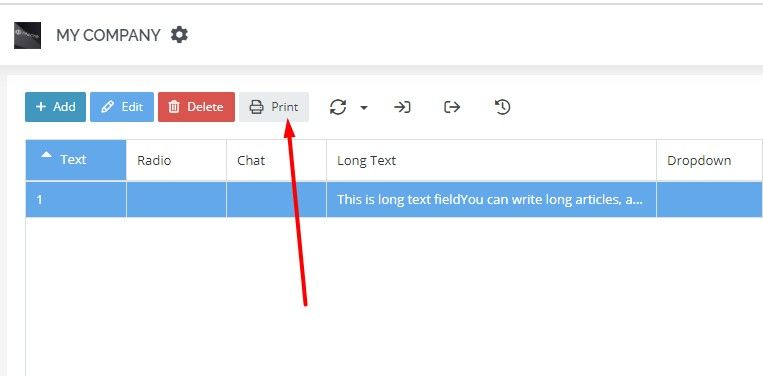
- Click on the Print icon.
- A pop-up window will appear in which you can Print the prepared report or Save it as a PDF or Excel.
Time zone setting
To display the correct time in the report you need to set the localization. Report settings can be viewed by clicking next to the report
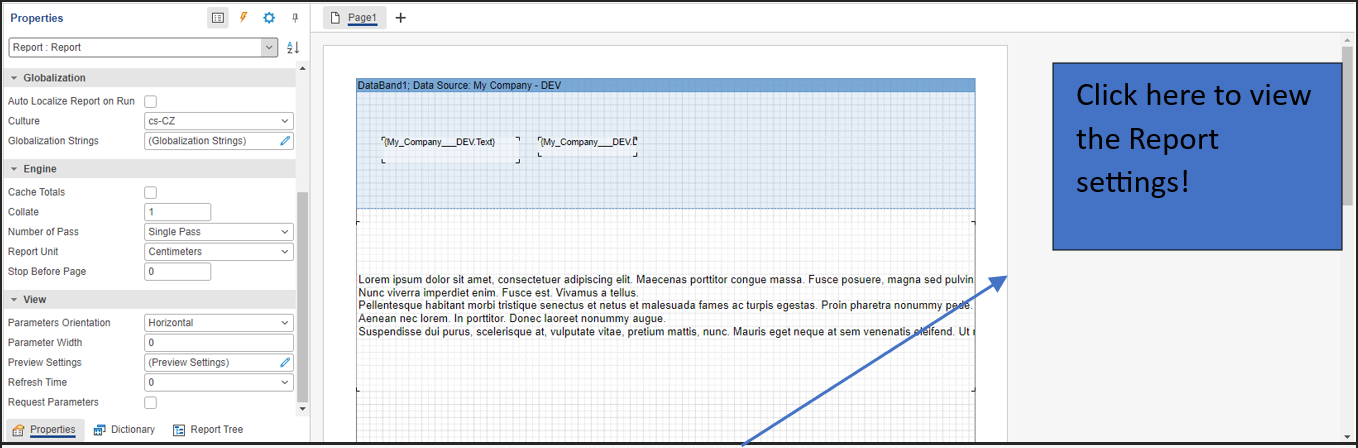
- Click on the Globalization section.
- Set Culture settings.