
Link To Table
If you want to link data from one table to another in Tabidoo, you can simply do it via field type Link to table as it is explained in the previous chapter - Field Types in a Table.
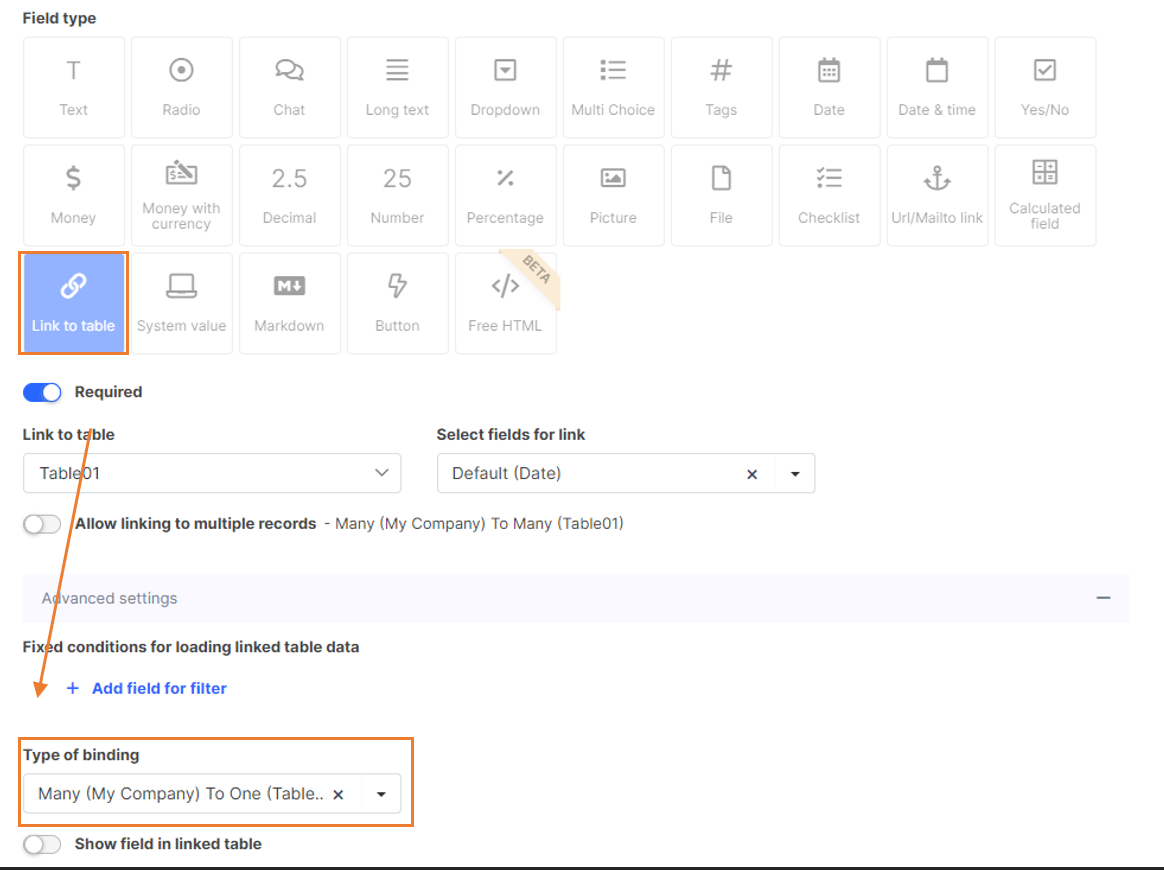
Where to find the Type of binding in Tabidoo
In the advanced features, you can select ways how to link the data between those tables. When the option Type of binding is opened, there are 4 ways of binding:
- One to Many
- Many to One
- Many to Many
- One to One
One To Many
In this option, the data from the 1. table (e.g. Contacts) may be linked to many elements of the 2. table (e.g. Communication), but a member of the 2. table (e.g. Communication) is linked to only one element in the 1. table (e.g. Contacts).

An example:
Let's imagine that you have two tables in Tabidoo - Contacts and Communications. You want to have an overview so that when you open a specific contact in the Contacts table, you can see all the conversations that have taken place with the person so far.
How can you do that?
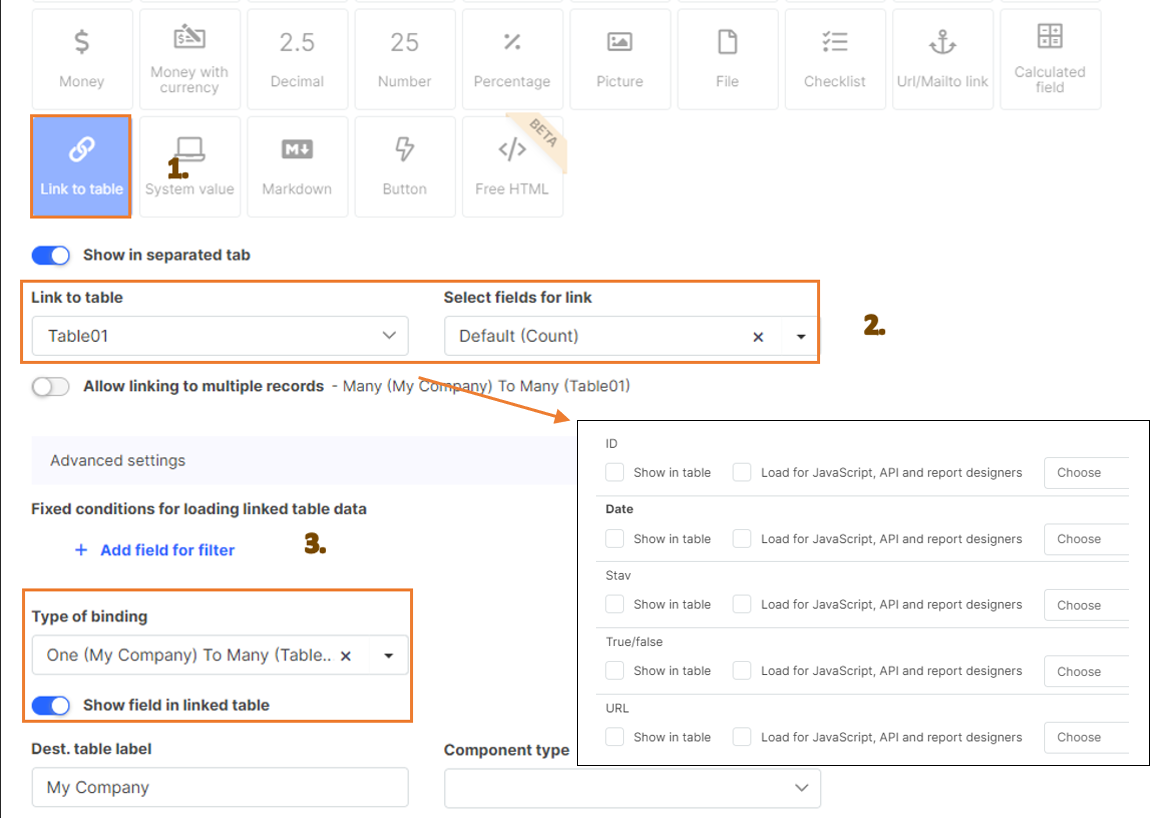
How to setup binding One To Many in Tabidoo
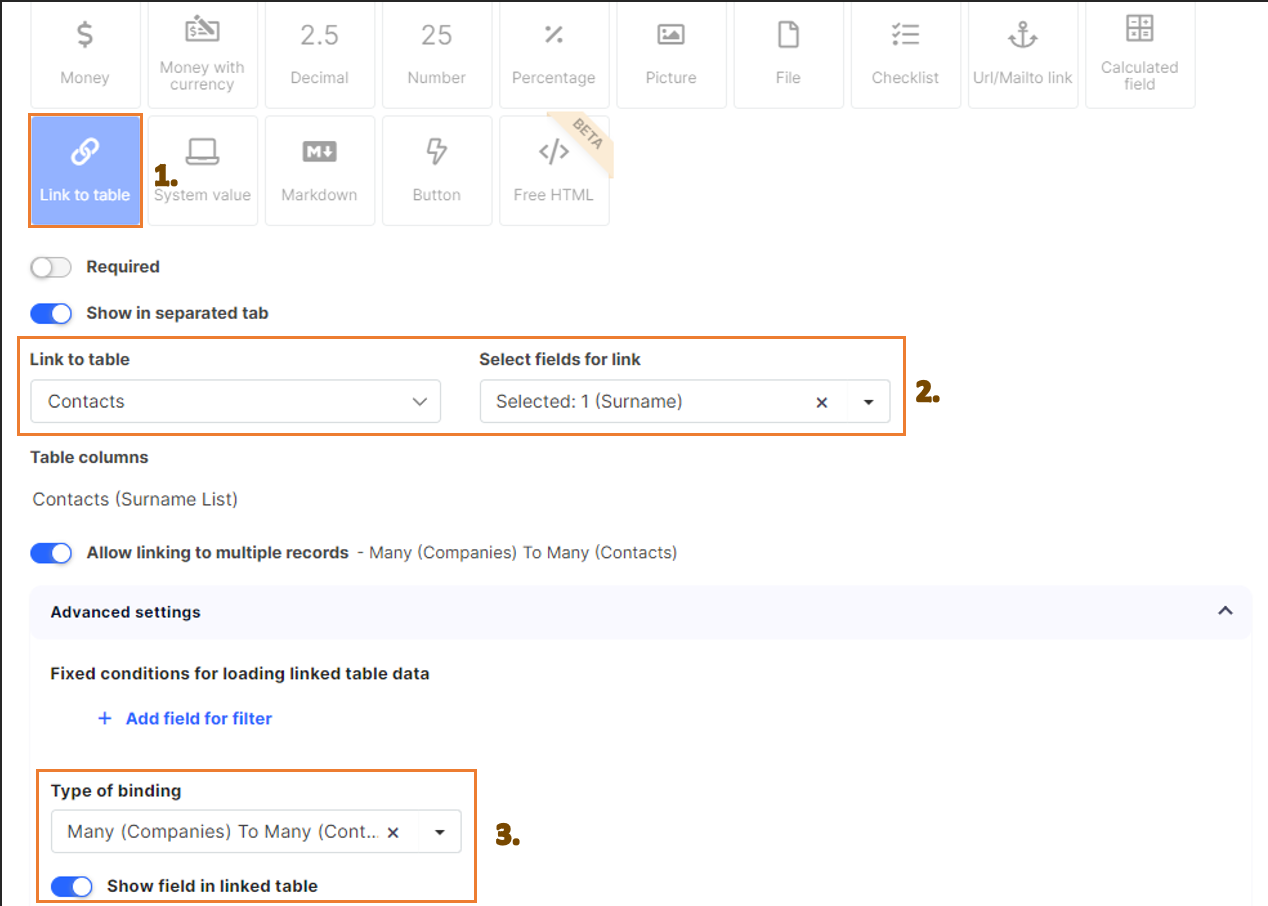
- Step: In the table Contacts add a new field called for example Communications. From the field types you then select the option Link to table.
- Step: select a source table from which you link the data, in this case, the table Communications. Select the fields from the linked table to be displayed in the grid.
- Step: select the type of binding, in this case - One To Many. If you want this binding to appear in the other table as well, press the button Show field in linked table.
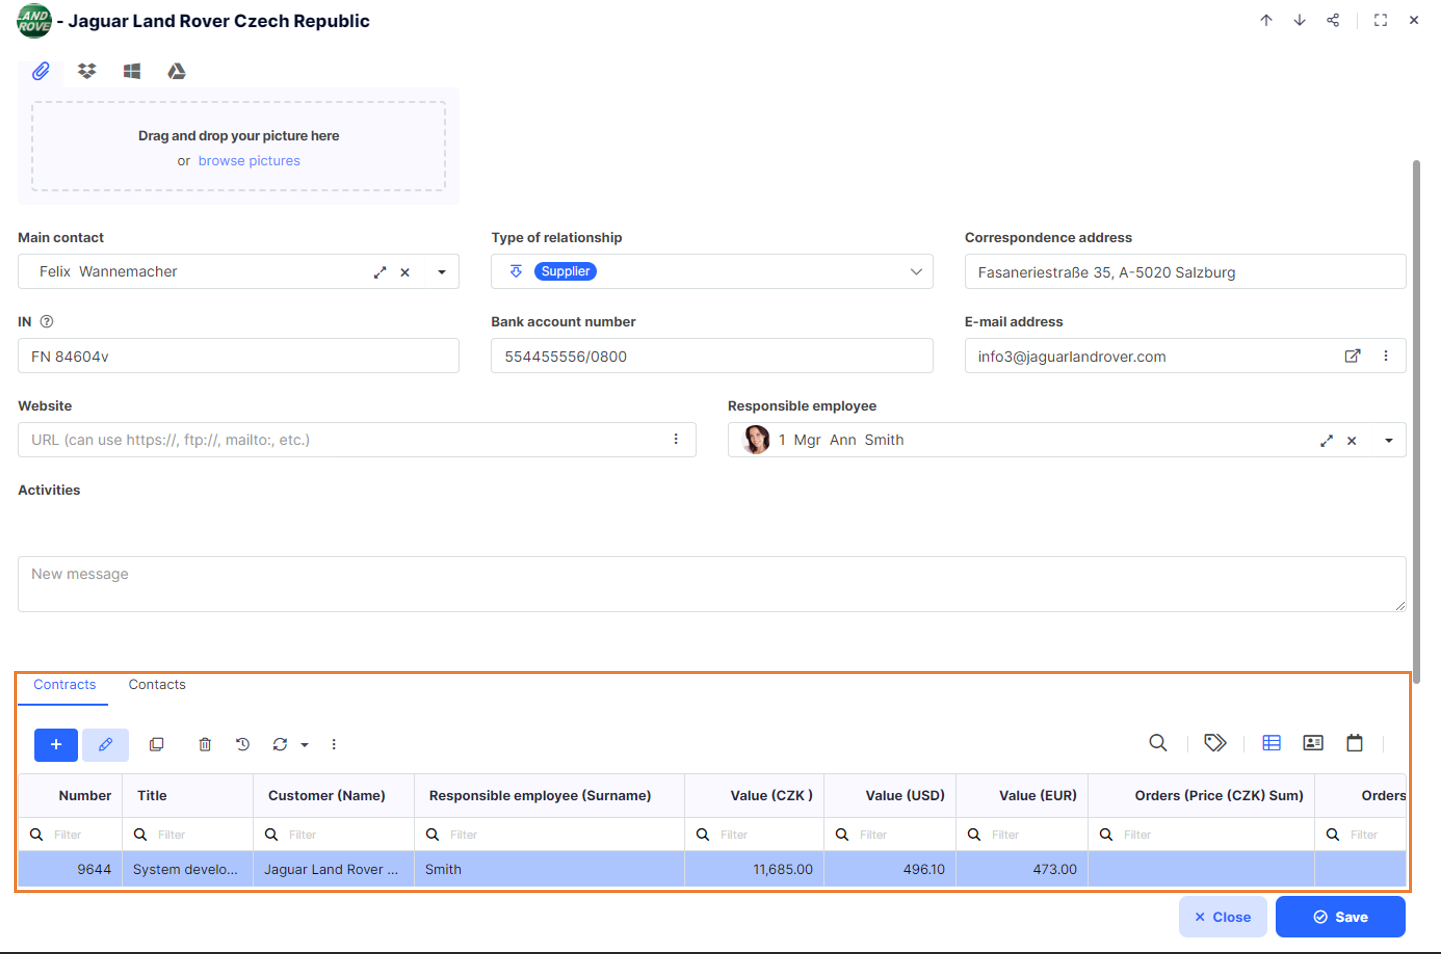
What will happen now?
The linked sub-table will be displayed in the form. You can edit or add new linked records (in this case, communications with a customer), which will be displayed in your table (Contacts) and also in the other linked table (Communications).
Type of binding One To Many in Tabidoo
In step 2. select which fields will be linked. They will afterwards appear in a grid of the table.
In step 3. you can display the binding in the linked table (e.g. a contact is displayed for each communication).
Many To One
In this option, the data from the 1. table (e.g. Communications) is linked to only one element from the 2. table (e.g. Contacts), but a member of the 2. table (e.g. Contacts) may be linked to many elements of the 1. table (e.g. Communications).

An example:
For example, if you want to link communication with one specific contact. However, you can link this contact person to multiple conversations at the same time.
You achieve it the exact way as we explained in the previous type of binging with only one slight difference. In step 3 you select the type of binding - Many To One.
To link a record, you must click the link to table field on the edit form. You can then select the record you want to link from the lookup. If you want to set which columns and records will be displayed in the lookup, see How to define which data will display in the lookup.
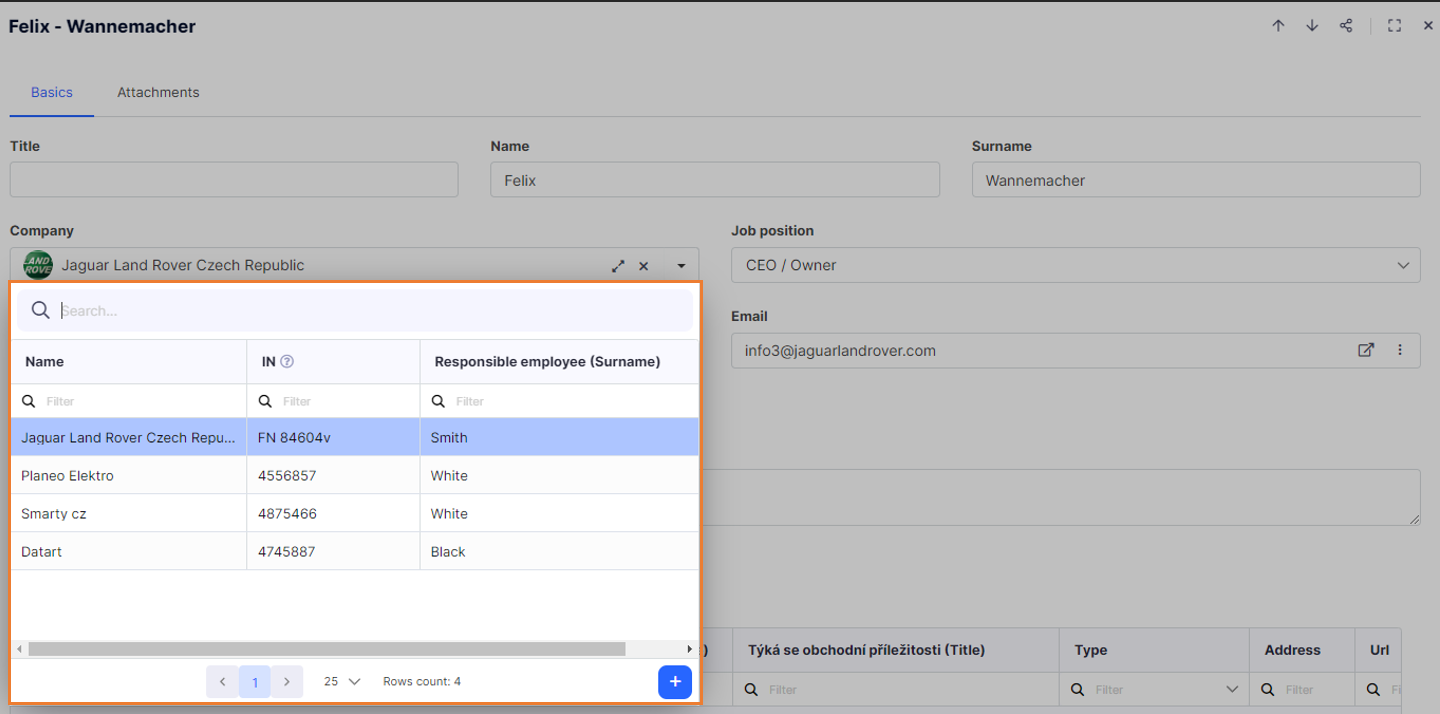
The lookup in Tabidoo
This type of binging is used the most frequently, for that reason it is automatically preset for a user.
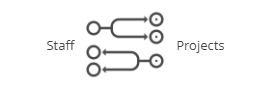
Many To Many
By selecting this option the data from the 1. table (e.g. Projects) will be linked to many elements of the 2. table (e.g. Staff) and the other way round.
An example:
Let's imagine you have two tables - Projects and Employees. You want to link these tables so that when you add a new project to the table, you can directly select the employees who will be responsible for it. This means that many employees can be responsible for one project. While each employee can also be responsible for many projects at once.
How can you do that?
How to set up the binding Many to Many in Tabidoo
- Step: add a new field to the table and select Link to table from the field type.
- Step: select the table you want to link. You can select fields from linked table to be displayed in the grid. You can skip step 3 by pressing the Allow linking to multiple records button.
- Step: choose the type of binding, in this case - Many To Many. If you want this field to be shown in the linked table, press the button below it.
What will happen now?
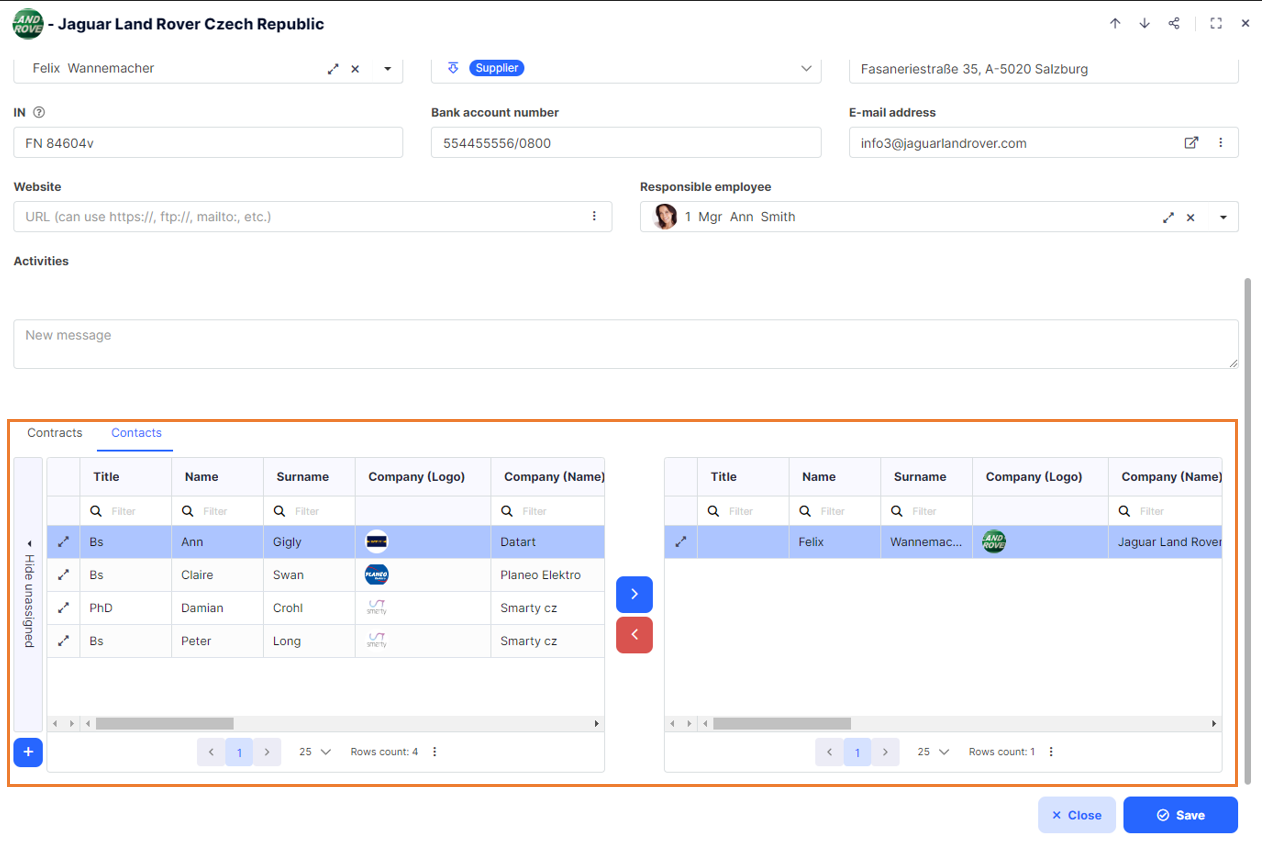
A new field will appear in the form (e.g. Responsible). It contains two sub-tables. The left one contains all the data of the linked table (in this case employees). Click on the blue arrow to move the ones you want to link to the right sub-table.
Displaying fields in a Many to Many relationship
Default display mode: Count (shows the number of linked records)
To show specific values from the linked records:
Enable Show in table for the field
Select the desired aggregation/display method
Display options depend on the field type:
Text fields: List, Count, Average, Minimum, Maximum
Number fields: Sum, Average, Count, Minimum, Maximum
Date fields: Minimum, Maximum
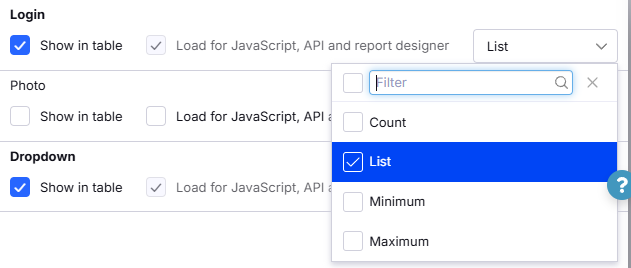
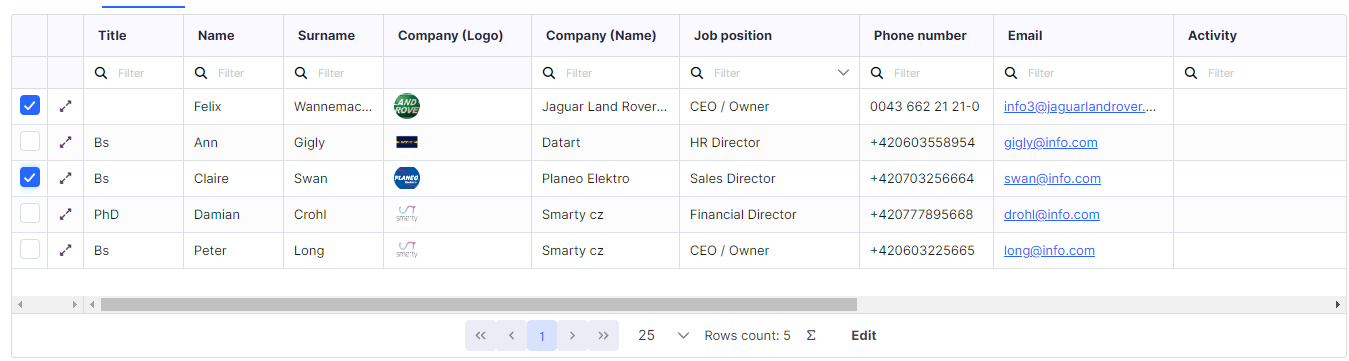
Tip: You can select multiple columns to display from the linked table
Example: see the screenshot below showing the "List" option selected
By default, Tabidoo displays the Count of linked records in Many to Many relationships. However, the Count aggregation function is generally available only for the first field selected from the linked table.
Exception: If a field is marked as Default, the Count function will be used regardless of its position among the displayed fields.
Other fields will only offer aggregation functions based on their data type (e.g. List, Sum, Average, etc.).
🧠 Tip for users:
To ensure Count is shown, either place the desired field first or mark it as Default in the field settings.
Filtering data from the linked table
You can also set a fixed condition that will display only certain unassigned records. The filter is a standard Tabidoo filter, for more information how to use it, see the section Filters.
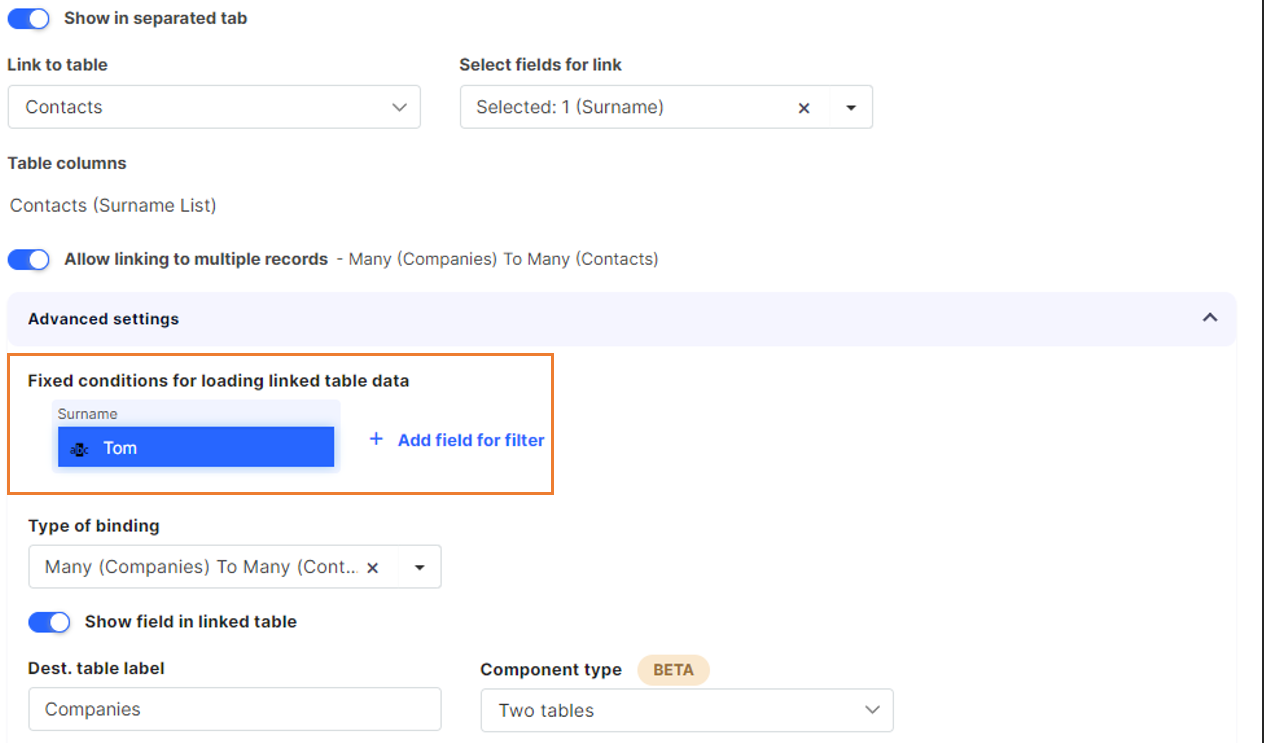
This input is meant for simple, short lists. What is not loaded does not count. Only the first 1000 records that match the same filter or value (e.g., "New" in status) can be filtered. Records beyond the 1001st position will not be included in the selection.
Component types
The "Many to Many" binding can be displayed using two different views.
In the advanced features you can set the following component types:
- One table with checkbox
Link the records easily by clicking at the checkbox.
- Two tables
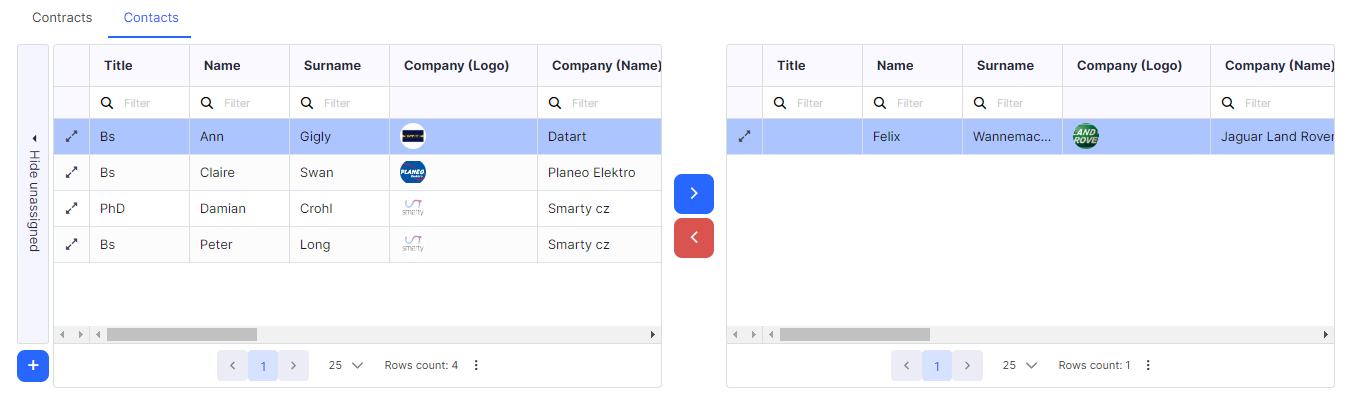
Link the records by moving them to the table on the right side.
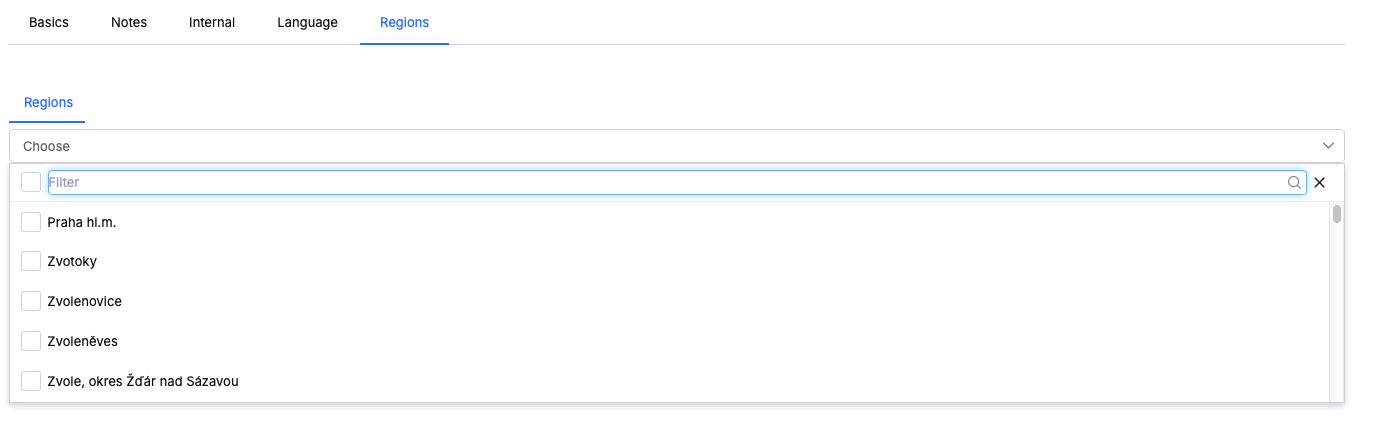
- Multichoice
Allows selecting records with full-text search. This component is limited to a maximum of 1000 records and is not recommended for larger datasets (ideally only hundreds of records). Records that are not displayed are not loaded.
One To One
In this option the data from the 1. table (e.g.: Projects) may only be linked to one element of the 2. table (e.g. Staff) and the other way round.

An example:
We will follow the previous example with one difference. Suppose you want to assign a project to only one of your employees and you want to ensure that the same project is not assigned to someone else at the same time. Then this type of binding will come in handy.
In other words, records can be linked just once in this type of binding. If you link twice the same field, the alert will show up.
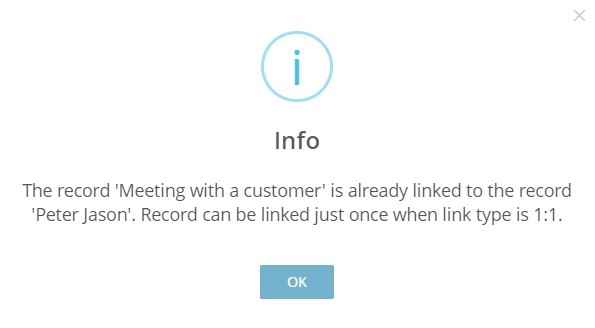
An example of alert in Tabidoo after linking twice the same record
Card fields for One To One or Many To One
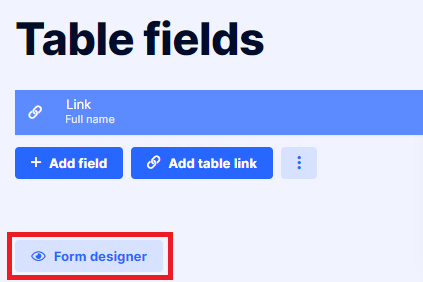
In these two cases, you may occasionally need to display multiple values from a linked record on a form. This function only displays values in the form, not in the grid, and does not store any data. In the Table field settings, select Form Designer.
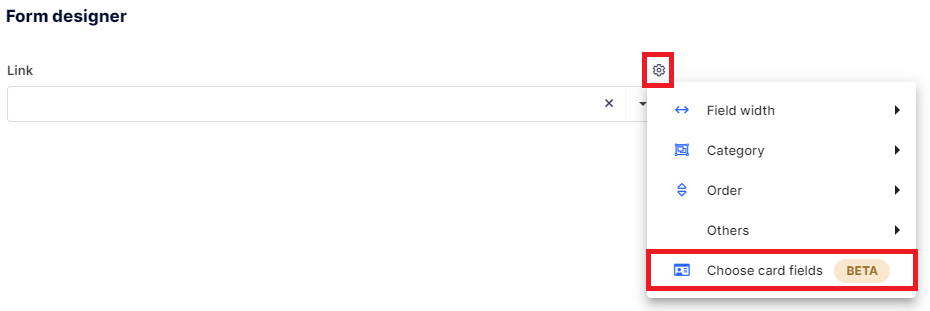
Then, in the designer, first click Control Settings, and then click Choose Card Fields.
And now you can choose which fields you want to show in the form and whether you want to hide the field headers.
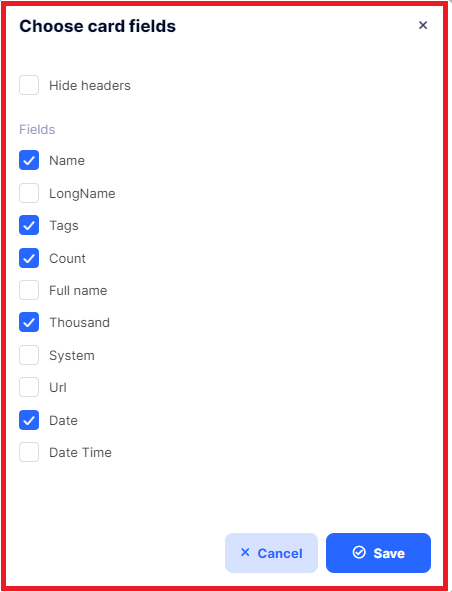
The result will look like this.
